Showing posts with label helmetcharacter. Show all posts

Monday, 6 January 2020

Summative Submission

1. RARE Props 


2. Helmeted Character


3. Sunset Overdrive Character

Helmet Character progress

Simply put, my summative submission was underwhelming. I did not manage to even texture blockout my character and the rigging was messed up as well!


Looking back at it, there was a lot that was wrong, the retopology, the unwrap, the UV islands, a lot of clipping issues. Now that I think of it it was a crazy idea to attempt hair cards with so many fundamental things suffering but here we are.


Oh god these flipped normals


Some of the feedback I have received mentioned my character leaning forward too much, because of that my character lacked the "weight" feeling and its anatomy suffered. I received a good tip which is aligning the middle of my characters ear with its feet! Another thing was, my characters feet were pointing inwards, which also has distorter my characters posture. For the rigging, as I expected I need to resolve the skinning issues and keep in mind the balance and how dynamic the pose really should be for presentation purposes (really, anything other than a T-pose will do). In addition, I was advised to alter my retopology by ditching the lace low poly model all together for the sake of baking them on a boot. I did not do that in the first place because I was still figuring out the correct way to bake my objects by mesh name and it was the only way to get the results I wanted which looking back at it was EXTREMELY inefficient. Finally, my favourite tip was to segregate my UV sheets by material type instead of packing on everything without much thought into a single sheet. The texture budget in total for this project was a single 4k map, so I split it into 4 1k maps as advised. These included : cloth, skin, metal & hair. This has really accelerated my texturing process, made it more efficient, made it so much easier and allowed me to focus on the material properties and not covering up baking or modelling mistakes. 


It was my mistake that I did not seek that feedback sooner, while I did ask some people for it, they did not really look critically into my project or maybe tried to be nice? I have to focus on getting more quality feedback in 2020.


Firstly, I had to go way back to my Zbrush model and fix the posture issue. It was very easy taking into consideration my model was organised well, divided into named subtools with polygroups applied, thank you past-me for doing that.


Here's how it looked before, with a guest appearance from Michael Jackson for reference, we're not doing that.


And here's how my model is standing in the finished model & pose.

Altering the 3d sculpt did come at a high cost as I had to re-visit my low poly model as well if I wanted to texture it. Therefore, I've not only re-done the boot retopology, getting rid off the laces, I've also adjusted some other things like the shirt, some helmet parts, corset and the pants. I've gotten rid off that detailed belt retopology for the sake of something simpler and easier to unwrap & texture. 

I was doing this after I've already done my 3rd character so I was way more comfortable with baking & the way to unwrap things to make it work better. I also had more polygons after getting rid off the laces so I could invest them in the key objects like the shirt or helmet!


Below you can see the adjusted mofel and a test bake of my new unwrap!


As I have already said, I've unwrapped my model again and packed it. I learnt how to use packing to my advantage like keeping UV's of the same object facing the same direction, the correct sizing, how to squeeze them snugly together, fighting for every last pixel. This has left me with 4 UV sheets, perfectly ready for baking and texturing. I could probably still learn how to do it better, but it's still progress. 


And yes, hair unwrap is supposed to overlap like that!

As I've already said for my previous project, using bake by mesh name & material ID's makes texturing a breeze, Below you can see my processes. I focused on portraying different types of materials and their physical attributes in a way that will be consistent throughout the model.

Below you can see my texturing processes for this project


Hair cards were something new to me but I figured out an easy way to make them work, solely using substance painter for texturing. They're not realistic hair by any means, but I didn't need a lot of hair. I used hair cards in a way that hopefully draws attention to the helmet and creates a nice flow in the character.

Mandatory shiny hair gif:


I really like what I ended up with, I still need to work on making the most out of my textures when presenting them in marmoset, however it's certainly better than it was when I was just getting started with marmoset months ago. For this project, the presentation was as usual for me, very simple, with a simple gradient plane. I think it's very effective but I might experiment with something different before FMP, I still have some time to make changes to my brief!

Lastly, because of adjustments made to my mesh I was able to get a wider range of motion in my character, so the rigging process was not as much of a headache!


Below you can see a difference in my work, both presented in marmoset, set only 5 months apart


I don't think I need to express how proud I am of myself of getting better at this, I'm coming for you FMP!


Wednesday, 25 December 2019

Christmas update

I've fallen behind with the weekly posts but let's get this all organised again.

The goal is a submission of all my 3 projects on the 6th of January at 4pm

Remaining tasks to complete:

Sea of Thieves project:
- Procedural posters on the walls
- Cloth
- Render the scene

Helmet Character project:
- New boots retopo & bake
- Texturing
-Rendering scene

SO Character:
-Fix retopo (my poly count is too low)
-Texturing
-Rendering scene

Other: Catch up on blog posts & document improvement of projects, accordingly to given feedback.


At the time of writing this post there are around 2 weeks of holidays remaining so let's get to it :)

Plan for each day:

1: Complete drawings for each Sea of Thieves posters
2: Create a procedural material for my posters, model cloth and render the scene !
3: Retopo the helmet character & blockout textures
4: Texture the character
5: Rig
6: Render scene
7: Retopo SO character
8: UV's
9: Texturing
10: Texturing
11: Rendering

If there's time left in a day, start next day task, EZ


Here's a moodboard for the day 1 drawings
I really like the simplistic yet very fitting style of these symbols, they're visible on fabrics, crates, characters, everywhere! Therefore I want to keep this feel on the posters in the background of my SoT scene.


Friday, 22 November 2019

Week 7

This week I did the UV unwrap!

Firstly, I had to unwrap every object separately, and then merge them into 2 groups that I'm going to texture later. It was a pretty tedious process, but at least it was not that challenging for the most part. I always compare it to knitting ¯\_(ツ)_/¯


I had an issue as I had to choose between having all my assets that require a transparency map on 1 material and having no issues with the bake of my visor asset. I still need to re-think my placement too, but I don't have much time for that unfortunately so I might have to sacrifice something in the end. We'll see.

In my last project I got feedback that my UV islands are spaced too far apart and generally are not that good, this time I improved them by organising them by hand and fighting for every little pixel to increase the quality of my textures.

Here's where I am at the moment:


Week 6 New beginning

Another week, another mission

I feel like I've hit a wall with my character so let's quickly go back to my research and see what I can do to overcome this.

My issues:
My brief asks for individuality and personality while asking for a NPC character (a bit contradicting but ok)
Theme of my character is an airforce female fighter - she probably wouldn't be able to personalise her uniform by a lot. Also, concept I'm basing my work on mainly uses face & hair to tell personality of the character. She gives the impression of being very soft, gentle, caring, and I'm not sure if I should make changes to the concept for the sake of completing the brief requirements.

First, I'll break down exactly what I like and don't like in concept I'm working from and what can I do to give my character more personality.


I did a few iterations of my design (below) and have decided on giving my character more personality by giving its purpose and making it an air force mechanic. I've given her tools, some patches that air force and a glove inspired by a reference image of a real plane mechanic. I'm also going to add some personality with dark oil splotches, dirt and overall wear on her clothes with texturing. I still need to seek feedback if the badges are a good idea though as I don't want to interfere with the original concept too much. Badges from these iterations are from CS:GO and Call of Duty, I'm going to make my own for the real thing, this is just a concept.


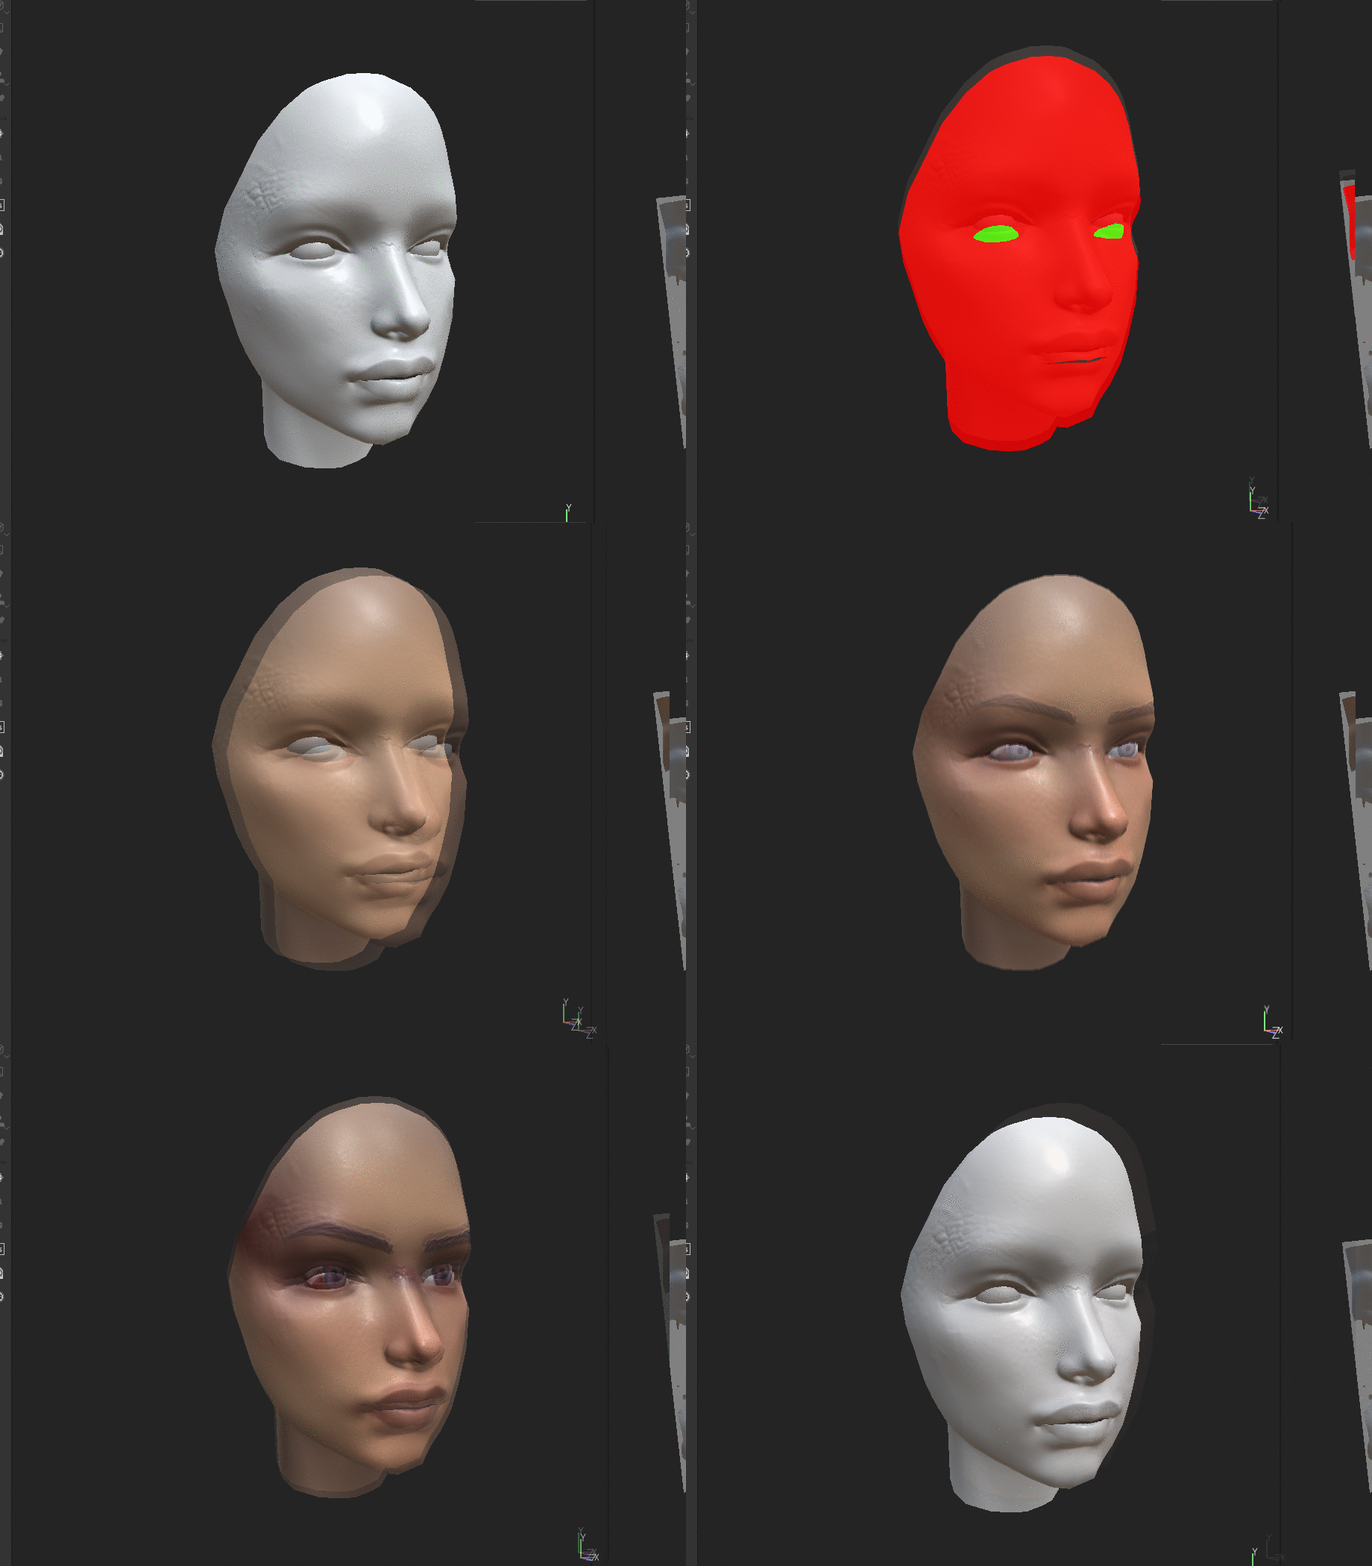
To finish off my model I've made the accessories like the tools but also added some subtle details that added realism like pores, mainly for practice. I based placement, concentration and size of pores on HD close ups of human faces which surprisingly were very difficult to find online. My personal tip is to search for celebrity close ups!


Since I've finished my high poly model it was time for texturing! To move on I had to retopologise
my model first. I did majority of this process in Maya, with the quad draw tool, working on decimated high poly models. However, for some of the models like the helmet for example I had better results when making my lowpoly model with the Zremesher tool in Zbrush. I found that it worked really well with spherical objects and retained the key curvatures of my helmet, not affecting the silhouette while reducing the polycount from 1 million to a thousand. I still had to remove polygon loops and improve the topology by hand and I did that in 3ds max. Even though I was doing it directly on the model I was trying my best not to affect the overall shape and simply remove loops in areas where polygon density is abnormally high.

I had a lot of elements so documenting each of them would be very painful so I've picked some of them to present with screenshots:


Firstly, I'm going to show how I did the retopology of the boot asset. This definitely the most difficult asset to bake for me, mainly because of the laces. In the end I had to flatten the laces, but I still didn't like the result of baking them on the boot itself. The reason being is I was not planning on giving boots so much pixel density on the UV map as they're a minor asset. Therefore I decided to sacrifice more of my polygon count on the boots to make up for it and make a low poly model of the laces.


I did a few attempts of baking this model, firstly with maya but it didn't give me great results as you can tell from screenshot below:


I solved this problem by using the zremesher tool instead, even though the zremesher product was too high in polygons I was able to easily reduce it manually. It actually didn't take that much time since the asset is not that complicated, and I managed to get a good test bake which is all that matters :)


 In the beginning I did struggle with the laces a lot but managed to get them done mainly thanks to the zremesher tool and cleaning up the topology by hand in 3ds max.


And here's a process of retopo process for the face asset. I did this in maya as it gave me a lot more freedom while working on topology. It was crucial to get these loops right to make it easier down the line for animation. I'm happy with my result :)


 In order to get an accurate bake and retain the same level of detail on each piece I've merged all the assets into 2 objects. One that contained models making up the focal point of the character e.g. face, hair, waist vest and the jacket, while the other object contained models that still needed high resolution like her pants, boots and helmet but were not going to contain such level of detail. I knew that the helmet is in fact the focal point of this project so I'm going to save a large UV space for it.


Sunday, 3 November 2019

Week 5 summary

It's Sunday, 3rd of November 2019, day after Blizzcon!

I've got a lot of plans for today that include finishing up the high poly model completely and moving on to retopo but also hair card experiments. I'll get into my reasoning for using hair cards and other key decision after this week's work recap.


Few days ago I documented the progress on my character's helmet, I'm certain I've finished it so here's the entire process:


Main inspiration for my helmet was an air force fighter helmet model HGU-55. I did not stick to the concept completely by making the strap go fully around the helmet, making my own buckles, different straps, cables and the oxygen mask. HGU-55 is a lightweight designed for the high-g combat environment. What I wanted to achieve with changes I made was make it a bit more modern looking but not to the point where it's sci fi as concept I'm referring to is fairly realistic.

Helmet ref:


I decided not to use the helmet from the initial concept as to me personally it doesn't make much sense and looks too sci/fi, almost storm troopery. It also clashed with the soft looking female character and even though I'll be making some changes to the facial features too, I wanted to keep the same feel of the character. That's why I chose HGU-55 as my helmet as it's very lightweight and sleek, fitting a feminine character more, without looking abstract or unpractical.

From the feedback I've gathered it was a good decision but a lot will still depend on how I texture this.
Overall I'm very happy with the helmet, I was very intimidated by hard surface modelling, especially that I wanted to do it in zbrush to preserve the same semi-realistic sculpted look throughout the whole character.

One thing I would do better next time is instead of masking in some of the elements and extruding them from the mesh, I'd build them around the helmet in 3ds max. I only realised that this was more comfortable and efficient when making clasps around helmet and the oxygen tube, also taught me a new use of spline tool which I'll document later in this blog post.


Making hard surface elements

One of the techniques I used for the small elements of the helmet was box-modelling in 3ds max.
I used 3ds max and not zbrush to achieve the artificial, man made look faster and to avoid the "putty" shapeless mesh stage. Not only it would be so difficult to polish such piece of geometry until it looks symmetric and metal-like, it would take much more time so I started with this blockout instead.


 Step 1: Put in edge loops around the box shape, their placement should correspond to the strongest shapes from the reference


Step 2: In symmetry mode, scale the proportions to achieve the right proportions and move vertices around to get the right shapes


Step 3: Exaggerate shapes, check progress on each side of the model, clean up topology


Step 4: Import into Zbrush, position right


 Step 5: Subdivide the model, make sure it doesn't overlap any other mesh, in this case the helmet rim. I also added some touches of the high polish brush, so that it'll look worn out but not too much because it's such a small asset it won't be very visible in the end. Lastly, due to using subdivide, some of the hard edges and crevices were softened so I used a geometric brush that makes very sharp "cracks" in the mesh on a low opacity to deepen them again and I really like the final result.


I repeated the process for each of the small elements. Some needed more work in Zbrush, some less, but overall I'm very happy with the look of my helmet now. It took me less than a day to block in all the new elements, in comparison, when I made the initial strap that goes around the helmet I struggled a lot to get it right.


To learn more about proper hard surface modelling, I also did my cylindrical tube assets, like the oxygen tube, microphone or the cables tied together outside of zbrush. I also used 3ds max and made these components using splines as you can see below:


Step 1: Make a smooth spline ,I estimated shape & size which was a mistake, process would be easier and faster if I did it on top of imported torso.


Step 2: I made a side profile of my oxygen mask pipe. I referred to the original HGU-55 design . I believe if I did it with a smooth tube and only painted the detail on it'd be too flat. Especially for an asset that's crucial in this project.


Step 3: I've extruded my side profile and added vertical loops to make a smooth spiral. Before next step I've skewed my object by a few degrees horizontally to prevent strange deformations.


 Step 4: With bend modifier I was able to create a tight spiral out of my object.


Step 5: As you can tell it was not great so I've adjusted the skew modifier just enough for the edges to barely touch.


Step 6: I was able to easily weld all my edges and to make it a bit cleaner I did make sure that the vertical edges are lined up.


Step 7: Just for the sake of testing I applied a simple checker diffuse map and adjusted tiling until it looked as desired.

 Step 8: As it's not a good practice to stretch materials like this, I used the UVW Xform modifier instead to tile the checker pattern.

Step 9: I always had the issue of scaling in 3ds max when applying more complex modifiers but learnt how to overcome thi by reseting the local scale.


Step 10: I checked the length of my spline and made an object corresponding to it. Then I have cloned my spiral multiple times so it's just as long.


Step 11: To use the path deform modifier I had to attach all the pieces together.


All that was left was use the modifier, choose the correct axis and make sure there's no deformations :)


Final outcome. I'm pretty happy with this, I bent some of the areas to visually add more weight and tension to the oxygen tube. This made it look as if it actually touches the character as opposed to floating without being affected by the rest of the assets.

I used the same workflow for my other tube shaped elements and I'm glad I learnt this as it's a very quick and easy way to add some shape diversity and small detail.


Below you can see my combat books workflow, I also tried to make them using the box modelling technique as that's what I usually use, but it was not turning out the way I liked it. I had no control over individual pieces and it was difficult to get the shape definition right.


And here's the reference I mainly based off my boot design off:


To match the design of the helmet and the overall feel of the character I did break up the shapes of the toe cap to make it look a little bit more futuristic. However, I didn't go too much into detail & textures as texture will define it the most.


I have also made my character's belt this week, I stuck to the original concept as I thought it didn't need any adjustments and fit together with other hard surface objects.


I ended this week with a blockout of the character's vest. I pretty much left it as is but I'm still playing around with the proportions so it might change a little bit. However, I don't have much time remaining for this project (started out 1 week behind) so I'll probably ask for final feedback & advice on my high poly in class and move on with this piece.


What would my summary be without a one final shot? I'm very happy with the direction my piece is taking, decisions I took and things I changed along the way were worth it. Speaking of changes, I need to re-think the way I'll be doing my characters hair, while attempting using hair cards I realised it'll be very difficult to do considering there's a helmet and thick padded clothing. My plan for now is to make a sculpted blockout and blend in some hair cards on top of that.


See you in week 6! Formative deadline date for this is 15th of November so I'll do my best to clean this model up and bake it. Ideally I'll be done with my textures by Sunday, but that's unlikely. I would like to have at least 5 days for rigging and a simple marmoset presentation set up. Also, we need a plinth for this babe!