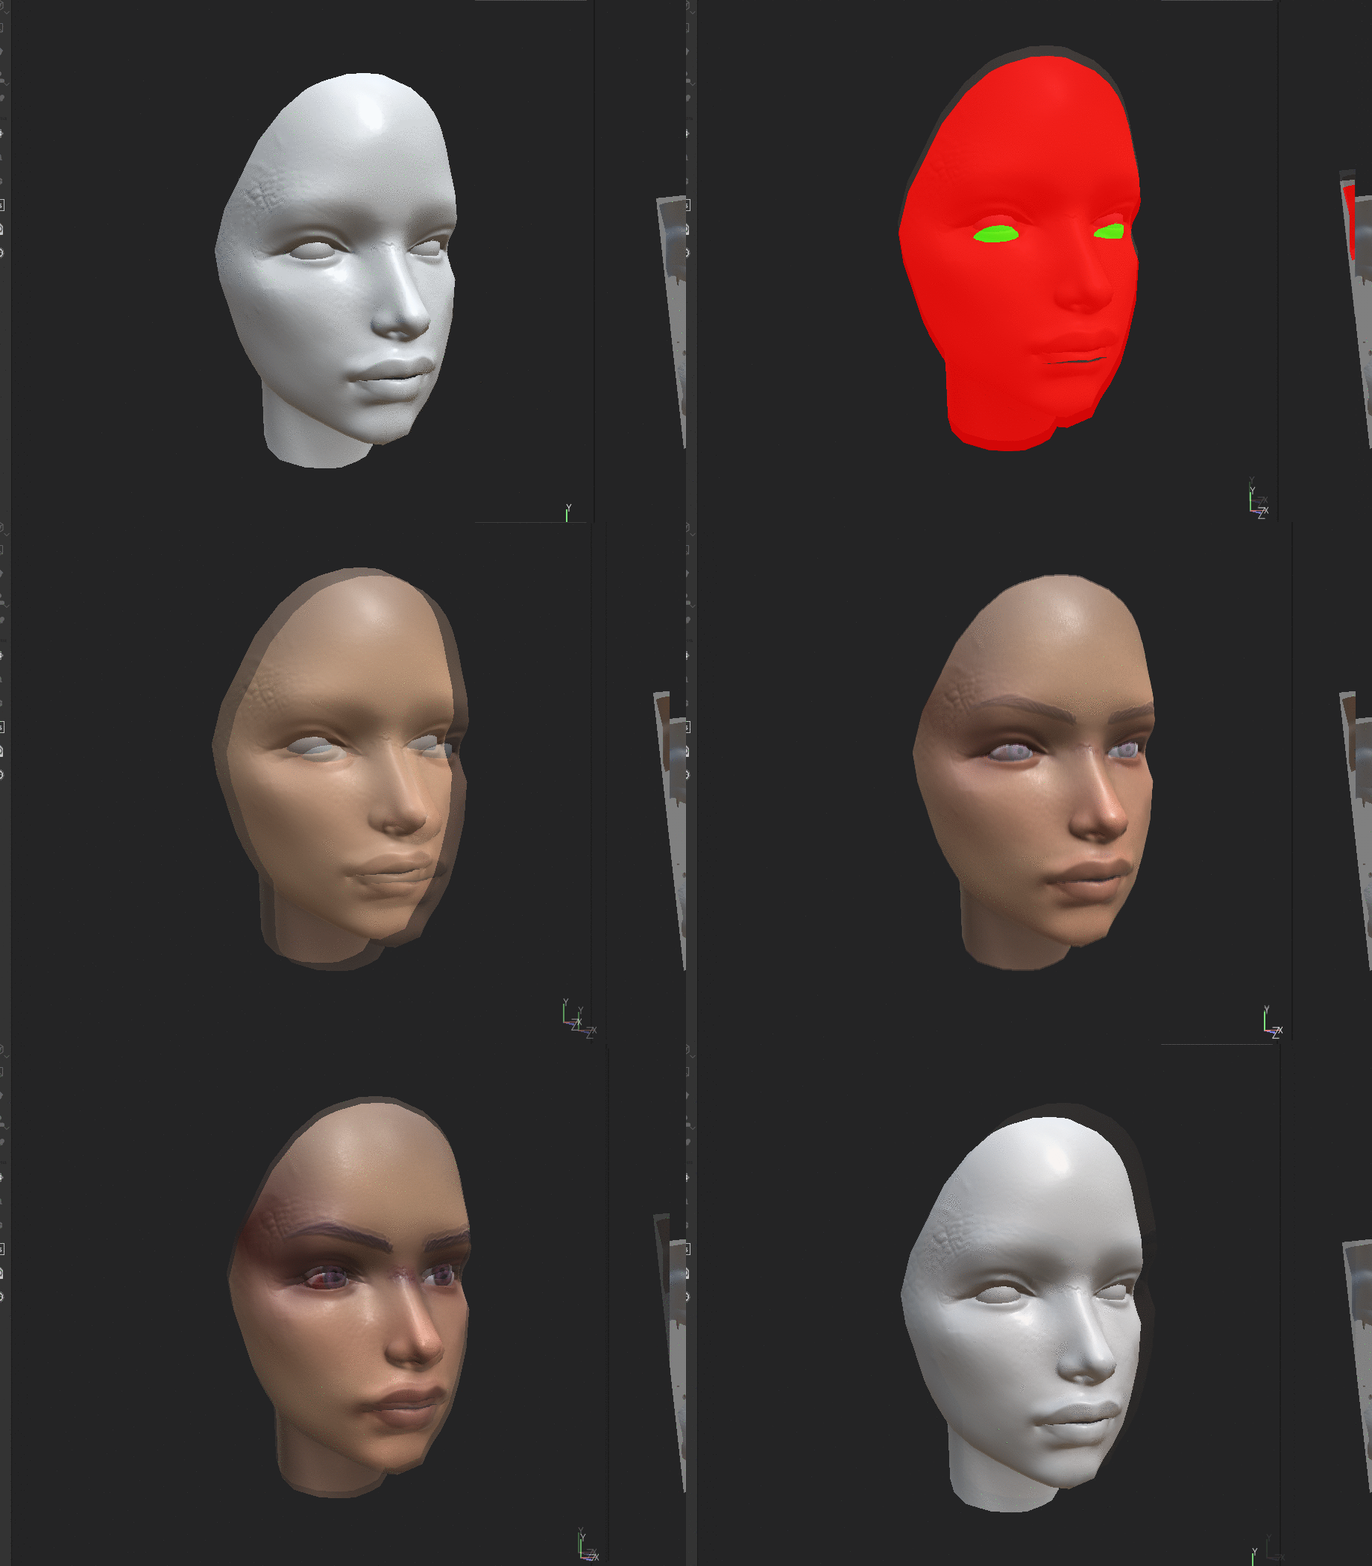
Looking back at it, there was a lot that was wrong, the retopology, the unwrap, the UV islands, a lot of clipping issues. Now that I think of it it was a crazy idea to attempt hair cards with so many fundamental things suffering but here we are.
Oh god these flipped normals
Some of the feedback I have received mentioned my character leaning forward too much, because of that my character lacked the "weight" feeling and its anatomy suffered. I received a good tip which is aligning the middle of my characters ear with its feet! Another thing was, my characters feet were pointing inwards, which also has distorter my characters posture. For the rigging, as I expected I need to resolve the skinning issues and keep in mind the balance and how dynamic the pose really should be for presentation purposes (really, anything other than a T-pose will do). In addition, I was advised to alter my retopology by ditching the lace low poly model all together for the sake of baking them on a boot. I did not do that in the first place because I was still figuring out the correct way to bake my objects by mesh name and it was the only way to get the results I wanted which looking back at it was EXTREMELY inefficient. Finally, my favourite tip was to segregate my UV sheets by material type instead of packing on everything without much thought into a single sheet. The texture budget in total for this project was a single 4k map, so I split it into 4 1k maps as advised. These included : cloth, skin, metal & hair. This has really accelerated my texturing process, made it more efficient, made it so much easier and allowed me to focus on the material properties and not covering up baking or modelling mistakes.
It was my mistake that I did not seek that feedback sooner, while I did ask some people for it, they did not really look critically into my project or maybe tried to be nice? I have to focus on getting more quality feedback in 2020.
Firstly, I had to go way back to my Zbrush model and fix the posture issue. It was very easy taking into consideration my model was organised well, divided into named subtools with polygroups applied, thank you past-me for doing that.
Here's how it looked before, with a guest appearance from Michael Jackson for reference, we're not doing that.
And here's how my model is standing in the finished model & pose.
Altering the 3d sculpt did come at a high cost as I had to re-visit my low poly model as well if I wanted to texture it. Therefore, I've not only re-done the boot retopology, getting rid off the laces, I've also adjusted some other things like the shirt, some helmet parts, corset and the pants. I've gotten rid off that detailed belt retopology for the sake of something simpler and easier to unwrap & texture.
I was doing this after I've already done my 3rd character so I was way more comfortable with baking & the way to unwrap things to make it work better. I also had more polygons after getting rid off the laces so I could invest them in the key objects like the shirt or helmet!
Below you can see the adjusted mofel and a test bake of my new unwrap!
Below you can see the adjusted mofel and a test bake of my new unwrap!
As I have already said, I've unwrapped my model again and packed it. I learnt how to use packing to my advantage like keeping UV's of the same object facing the same direction, the correct sizing, how to squeeze them snugly together, fighting for every last pixel. This has left me with 4 UV sheets, perfectly ready for baking and texturing. I could probably still learn how to do it better, but it's still progress.
And yes, hair unwrap is supposed to overlap like that!
As I've already said for my previous project, using bake by mesh name & material ID's makes texturing a breeze, Below you can see my processes. I focused on portraying different types of materials and their physical attributes in a way that will be consistent throughout the model.
Below you can see my texturing processes for this project
Below you can see my texturing processes for this project
Hair cards were something new to me but I figured out an easy way to make them work, solely using substance painter for texturing. They're not realistic hair by any means, but I didn't need a lot of hair. I used hair cards in a way that hopefully draws attention to the helmet and creates a nice flow in the character.
Mandatory shiny hair gif:
I really like what I ended up with, I still need to work on making the most out of my textures when presenting them in marmoset, however it's certainly better than it was when I was just getting started with marmoset months ago. For this project, the presentation was as usual for me, very simple, with a simple gradient plane. I think it's very effective but I might experiment with something different before FMP, I still have some time to make changes to my brief!
Lastly, because of adjustments made to my mesh I was able to get a wider range of motion in my character, so the rigging process was not as much of a headache!
Below you can see a difference in my work, both presented in marmoset, set only 5 months apart
I don't think I need to express how proud I am of myself of getting better at this, I'm coming for you FMP!


No comments:
Post a Comment